
 This post (and subsequent ones) will be about how to turn a piano which has reached the end of its life into a functional piece of furniture. It is designed to give you ideas and tips on how to do it yourself. I am happy to answer questions too.
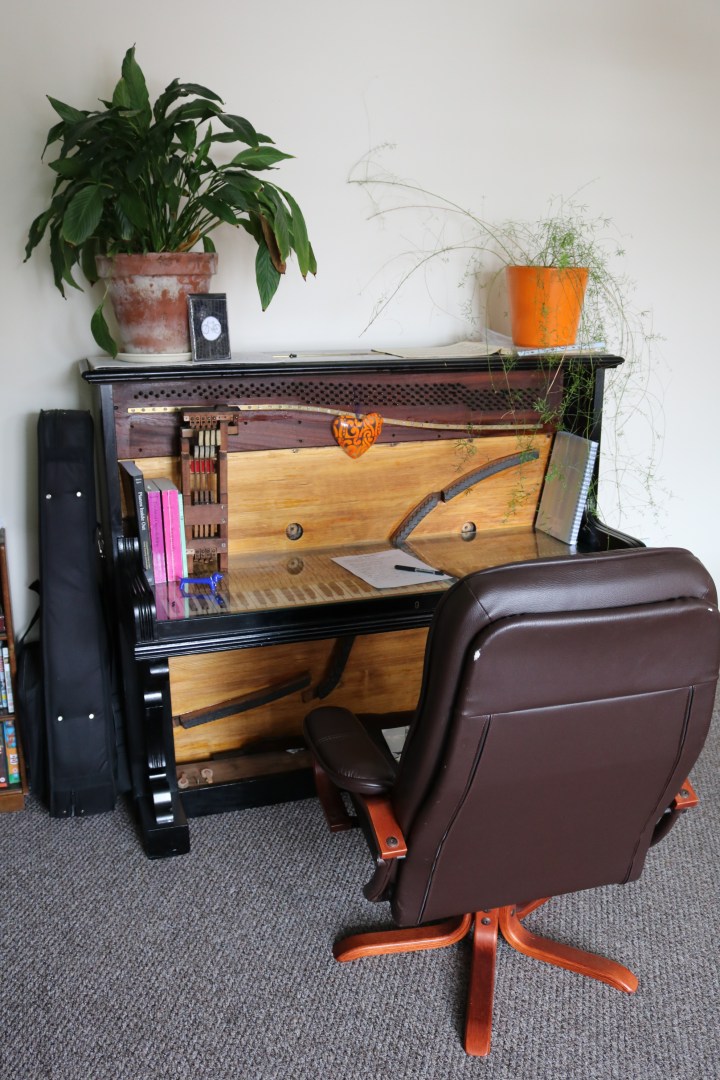
I decided to undertake this project for two reasons. First, I think the design and aesthetics of the piano is timeless and a classy addition to any room. Second, it is better than putting it into the skip or burning it. The timbers in a piano are often strong and useful for other projects and are very well seasoned.
The Piano
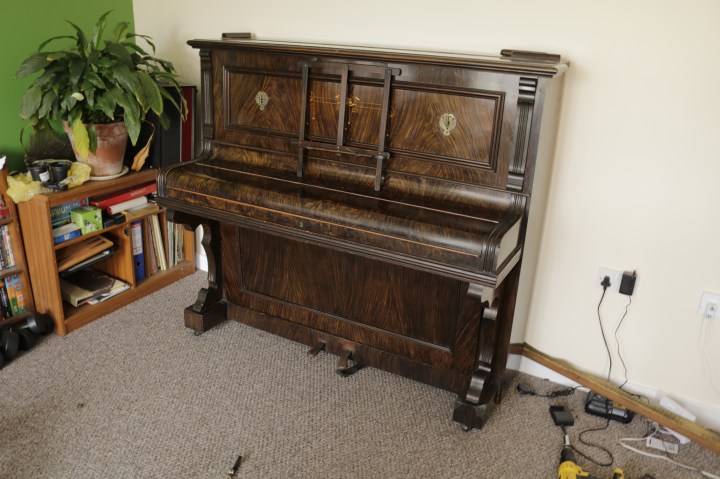
So now I shall introduce the piano as I acquired it. It was a nondescript Murdoch, McKillop & Co and was finished in an oppressive, dark, fake, wood grain paint. To add to its obsolescence as a piano it was straight-strung and over dampered and had splits in the soundboard (further reading on the types of piano are available on a previous post). The wrest plank was also split, meaning it would never hold its tuning. The more I peeled back the layers, the more I realised it was dead as a piano.
Disassembly

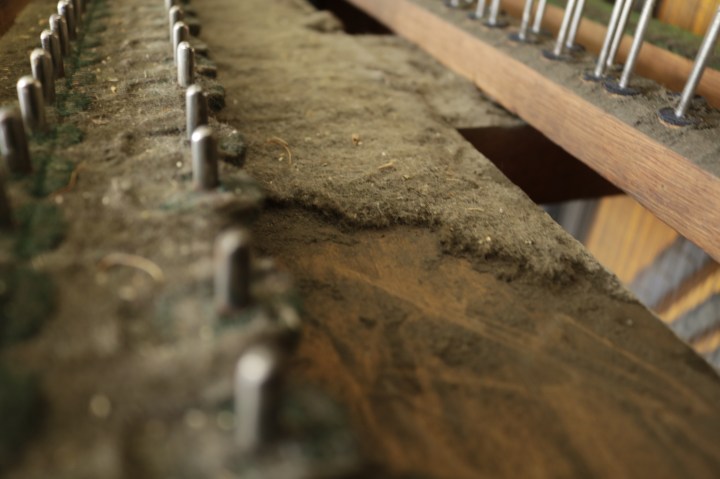
The first step was to remove all the case parts, keys and strings. This was a dirty job as the strings were original (c.100 years old) so were tarnished and mucky. The keys were also caked in dust and dirt and the felts were disintegrating. You could have grown potatoes in the dust and dirt under the keys!
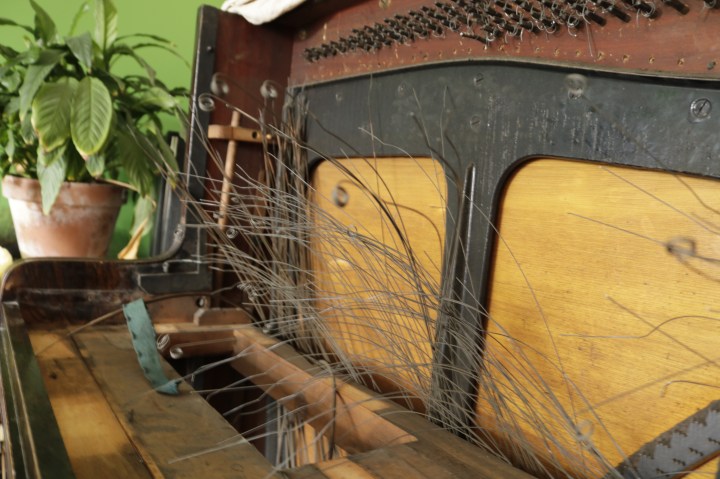
To remove the strings you need to take the tension off before cutting. This is because there is a lot of strain on the strings, as noted in a previous post. It is advisable to wear gloves for this operation as the steel strings are sharp where they are cut – speaking from experience. It is possible to get a drill bit which fits onto the pins and makes removal of strings quicker and easier. Unless you plan to convert more than one piano I suggest its not worth it. I decided to keep the pins in for visual interest. Release the string tension across the piano evenly (top pins, middle pins, bottom pins), this will ensure there is no movement in the cast iron frame and so it won’t crack.
Next Time
Now the strings and keys are out and all the dust is cleaned, the next step is to remove the frame. This is the subject for the next post.
